
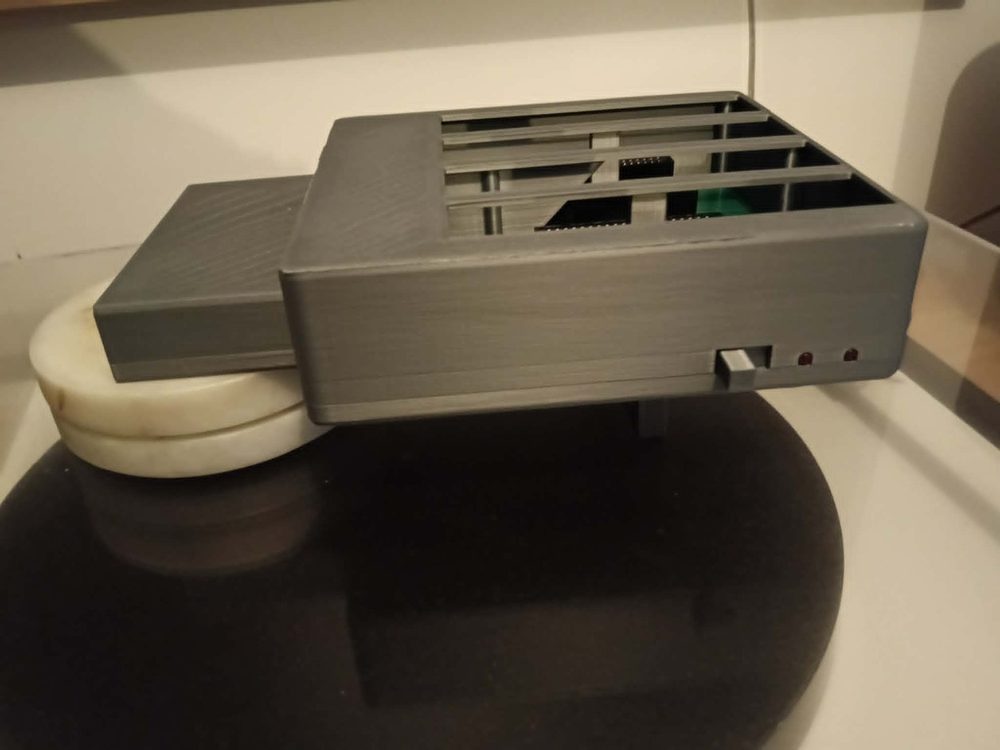
F2 — FIRMWARE
How to upgrade
your Multipak
On the original Tandy 26-3024 and on 8BITCRUSH Multipaks, a programmed GAL in socket U8 is the whole upgrade if the GAL chip is socketed on the board.
That single chip is the address decoder. Replacing it is enough for CoCo 1,2 and 3 use, and for the HDMI Cart, if the GAL chip is socketed on the board. HDMI Cart orders can include a programmed GAL; if you already have that chip, fit it as below.
Already installed. All 8BITCRUSH Multipaks sold since September 2026 already have the updated firmware installed. No need for this procedure.
HOW TO
Quick Instructions for
Multipak Model 26-3024
or Reproduction Equivalent
You have a chip ready to install. Use these steps if the GAL chip is socketed on the board.
- Remove the screws and gain access to the board inside the Multipak.
- Find the chip on the board.
- Note its orientation.
- Remove it from the socket.
- Replace it with the new chip oriented in the same direction as the original chip (there is a notch on the chip). Take care to ensure the pins are all correctly seated in the socket.
- Reassemble the Multipak.
SUPPORTED
Which Multipaks this covers
Tandy made two families of Multi-Pak Interface. Only the earlier 26-3024 uses a drop-in GAL at U8, which is the chip our firmware is built for. 8BITCRUSH Multipaks are reproductions of that 26-3024 board, with U8 already in a socket.
Supported — GAL swap only, if the GAL chip is socketed on the board. Original Tandy / Radio Shack Multi-Pak Interface 26-3024, grey or white. 8BITCRUSH Multipaks (the 26-3024 reproduction we sell). On these boards, fit a programmed GAL16V8 or ATF16V8B in U8 — the chip supplied with an HDMI Cart, or one you program yourself. Some original silkscreens mark that socket U6; match the 20-pin PAL/GAL on the board.
Unsupported Multipaks. Tandy 26-3124 and 26-3124A are later, smaller white units. They use a different PAL, so our U8 GAL is not a drop-in. See the 26-3124 upgrade notes at the end of this page.
FILES
The GAL chip
If your HDMI Cart came with a programmed GAL, skip the programming step and fit that chip if the GAL chip is socketed on the board. To program your own, download the JED files from Firmware on GitHub and write a GAL16V8 or ATF16V8B with a TL866, minipro, or similar. Use the same package as the chip you remove: 20-pin DIP on an original Tandy 26-3024, PLCC-20 on an 8BITCRUSH Multipak.
- CoCo 1 or 2:
mpi_coco12_stock.jed. Usempi_coco12_sniffer.jedif the HDMI Cart will live in the Multipak. - CoCo 3:
mpi_coco3_stock.jed. Usempi_coco3_sniffer.jedif the HDMI Cart will live in the Multipak.
The sniffer images let a listen-only cart such as the HDMI Cart see the data bus through the Multipak. Stock images are the usual CoCo 3 (or CoCo 1,2) Multipak decoder with no extra enable on writes.
IN DETAIL
Change the GAL on the motherboard
Fit the programmed GAL you already have — including one supplied with an HDMI Cart — or a chip you programmed from the files above, if the GAL chip is socketed on the board.
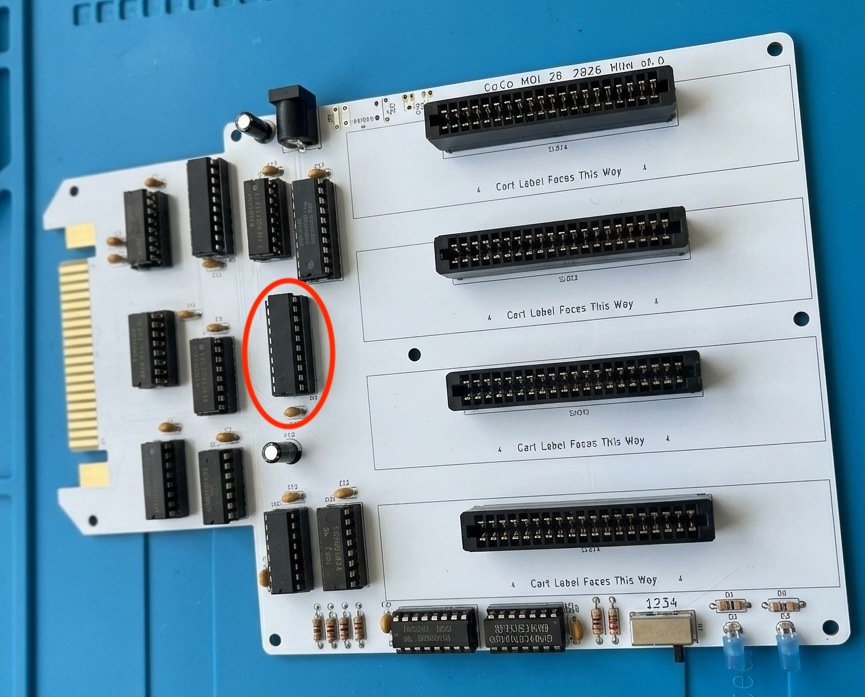
- Turn the Colour Computer off. Unplug the Multipak from the cartridge port and from power. Remove every cartridge.
- Open the case. On an 8BITCRUSH Multipak, lift the 3D-printed lid. On an original Tandy 26-3024, remove the case screws and lift the cover.
- Find U8, the 20-pin PAL or GAL. Original Tandy boards ship with a PAL14L4, often soldered; some silkscreens say U6. 8BITCRUSH boards already have a GAL16V8 in a PLCC-20 socket at U8.
- On an 8BITCRUSH Multipak, lift the GAL from the socket and press the programmed chip in, matching pin 1.
- On an original 26-3024, pull the PAL if it is socketed. If it is soldered, desolder it and fit a 20-pin DIP socket, then insert the programmed GAL with pin 1 to pin 1. Keep the old chip.
- Close the case. Reconnect power and the cartridge cable with the computer still off, then power on.
This is a DIY chip swap if the GAL chip is socketed on the board. We cannot work on a Multipak you already own. Keep the stock chip so you can restore the board.
NOTES
After the swap
A CoCo 3 Multipak that has been upgraded returns 126 from PRINT PEEK(&HFF90) at the BASIC OK prompt. 255 means the original PAL is still in circuit.
Further information on upgrading UNSUPPORTED multipaks for those with the skills to attempt the more complicated upgrade (not just a chip swap):
CoCopedia Multi-Pak Interface
26-3124 CoCo 3 Upgrade #1 (74LS10)
26-3124 CoCo 3 Upgrade #2 (piggyback GAL)
74LS10 wiring diagram (26-3024 and 26-3124)
26-3124 wiring diagram
26-3124 board modification photo
Color Computer Archive: 26-3124 CoCo 3 upgrade (Tim Lindner)
Retrocomputing Stack Exchange: Multipak Interface upgrades